Above Ground Storage Tanks are critical assets for nearly every process plant. TechCorr is the world’s most technically advanced tank inspection company capable of performing on-line assessments and out-of-service inspections.
Tank Inspection
- Home
- Tank Inspection
Tank Inspection
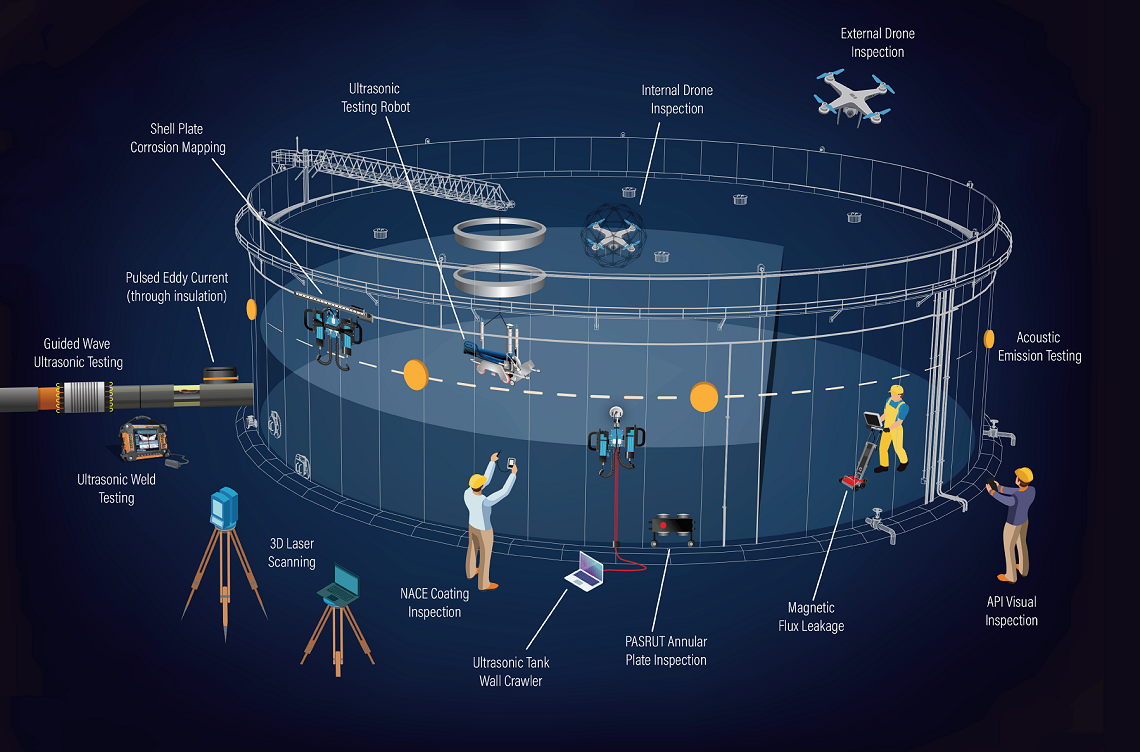

TechCorr uses 3D reality capture solutions combined with high-performance laser scanning technology to enable highly accurate survey grade mapping of environments. Using the sub-millimeter profiling technique calculations can be completed in moments versus weeks when surveys are completed manually.
Above Ground Storage Tank Surveys include:
- Roof & Floor Deviation Surveys
- High Definition Alignment, Verticality & Plumbness
- Peaking and Banding
- Floor Analysis
- Shell and Edge Settlement
- Column Analysis
- Girder & Rafter Analysis
- Floating Roof Gap & Rim Space Analysis
- Tank Strapping Analysis for Volume Certification
- Tank Berm Surveys for Spill Containment Calculations
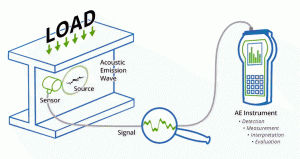
Above Ground Storage Tank Acoustic Emission testing (AET) is a powerful screening technique that provides real-time, 100% volumetric monitoring of in-service storage tanks. Using advanced low and high-frequency receivers, acoustic signals produced within the material under stress, are captured and modeled. Using proprietary auto-analysis and artificial intelligence software analysis of the signals is completed identifying the type, location, severity of structural defects present in the equipment. Damage mechanisms identifiable including but not limited to:
- Bottom Side and Top Side Corrosion
- Weld cracking, embrittlement, Stresses
Acoustic Emission of Storage Tanks is quick and has a limited impact on the operations of a tank. While the methodology does not meet the requirements of API 653; AE of storage tanks is a great tool to help prioritize maintenance. And, when used in combination with our In-Service Robotic Tank floor inspection service; deferral of out-of-service tank inspection can be obtained.
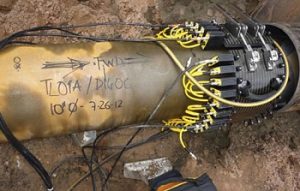
Guided wave ultrasonic testing (GWUT), also known as long-range ultrasonic testing (LRUT), is a screening tool for rapidly testing long lengths of pipe from a single inspection point. GWUT provides 100% coverage of the pipe wall without having to remove insulation or coating. It quickly identifies areas of corrosion or erosion that may then undergo more detailed inspections using other NDT techniques, such as radiography or 3D structured light.
API 653 requires tank floors to be inspected while the tank is out-of-service. TechCorr provides qualified-certified-experienced inspectors with technicians to perform magnetic flux extrusion on the tank floor. Theoretically, magnets or electromagnetic energy is impregnated into the tank floor through the tank floor scanner. Pick up coils installed on the scanner measure distortions within the magnetic field. These distortions are the result of wall loss such as corrosion or erosion. The technicians using the floor scanners are able to evaluate the magnetic field distortions screening for the presence of top and bottom side corrosion. TechCorr’s procedure, once the tank floor is screened, requires indications to be proven and sized using other methodologies such as thickness gauging, corrosion mapping, metrology and similar.
- Most reliable inspection method available
- Repeatable results assuming similarly skilled technicians
- 100% coverage of the tank’s floor including HAZ areas around welds
- Able to scan the annular plate which is most susceptible to bottom side damage
- Exceeds API 653 Inspection Requirements
- Improves overall integrity management programs
- Used to create tank repair scopes of work, which can be audited
- Documentation of inspection performed is provided
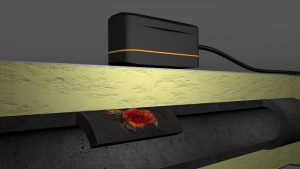
TechCorr offers Pulsed Eddy Current a unique corrosion survey method that allows ferromagnetic materials to be surveyed without the need to make contact with the surface (in contrast with Ultrasonics). This means that the measurements can be performed on objects covered with insulation, asbestos, fireproofing, concrete or coating.
For general ultrasonic technique, you need to remove the insulation at various places where you are expecting corrosion; skilled operator and specialized probes/ couplant will be required to get proper readings. PECT inspection is done online & without the removal of insulation. The high costs for removal of insulation can therefore be avoided.
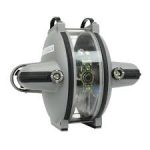
TechCorr’s video inspection tools are ideal for a broad set of applications, including:
- examining the material condition inside pipes, tubes, vessels, and tanks
- assessing insulation integrity
- evaluating equipment reliability
- inspecting internal piping components, such as floats, baffles, valves, and internal coatings
- confirming the results of other non-destructive testing methods
- verifying drawings and schematics.
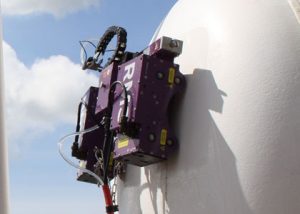
Corrosion mapping is an ultrasonic technique which maps and identifies variations in material thickness due to corrosion. Corrosion is the deterioration of metallic material by a chemical (or electrochemical) attack. This is normally caused by the environment (most often water), and sometimes by other materials. There are several types of corrosion:
- Uniform corrosion that extends evenly across the surface
- Pitting corrosion that is uneven and has smaller deep areas (pits)
- Exfoliation corrosion that moves along layers of elongated grains
- Inter-granular corrosion that grows along grain boundaries
To perform corrosion mapping an automatic or semi-automatic scanner is used to scan an inspection surface, using various ultrasonic techniques including pulse echo, eddy current and phased array. Corrosion mapping is widely used in the oil, gas and nuclear industries for the inspection of pipework, pressure vessels, storage tanks, and reactors. Results for corrosion mapping provide a high degree of repeatability and the advantage of position and size data for every flaw which can be compared for repeat scans of the same area to track flaw growth or corrosion rates both generally and for individual pits.
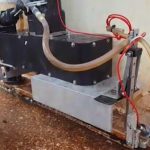
TechCorr’s Short Range Wave Ultrasonic Testing (SRUT) is specifically designed to screen difficult-to-access locations of tanks, vessels, and piping, such as:
- areas underneath supports, clamps, and composite repairs
- the annular plate of above ground storage tanks.
Our testing equipment produces a high-resolution, real-time color image of internal/external corrosion up to four feet from the transducer.
With a combination of highly skilled personnel and a robotic tank floor inspection system, TechCorr provides API 653-compliant inspections of above ground storage tanks without the risk, cost, or hassle of removing tanks from service.
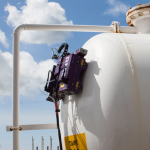
The ultrasonic test is based on the reflection phenomenon of acoustic waves when they meet obstacles to their spread. The wave is reflected back to its source if the obstacle is in a normal position in relation to the incident beam.
TechCorr’s Tank Wall Crawler is a rugged magnetic system- B-Scan Buggy which is the fastest method for inspecting remote access areas and a much safer alternative for tank wall and roof inspection. The B-scan Ultrasonic scanners provide a two-dimensional graphics presentation, in which the travel time of an ultrasonic pulse is plotted along the vertical axis and the linear position of the transducer is plotted along the horizontal axis. The resulting B-scan image provides detailed information on both the size and the depth of a detected material flaw.
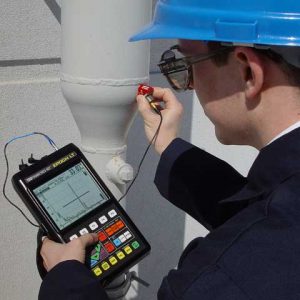
Ultrasonic weld inspection is one of the most common methods of non-destructive testing (NDT) used to detect discontinuities within the internal structure of welds. The obvious advantage is its ability to help establish the weld’s internal integrity without destroying the welded component.
This method of testing makes use of mechanical vibrations similar to sound waves but of higher frequency. A beam of ultrasonic energy is directed into the object to be tested. When the pulse of ultrasonic waves strikes a discontinuity in the test piece, it is reflected back to its point of origin. Thus the energy returns to the transducer. The transducer now serves as a receiver for the reflected energy. The initial signal or main bang, the returned echoes from the discontinuities, and the echo of the rear surface of the test piece are all displayed by a trace on the screen of a cathode-ray oscilloscope.
Detection, location, and evaluation of weld discontinuities become possible because the velocity of sound through a given material is nearly constant, making distance measurement possible, and the relative amplitude of a reflected pulse is more or less proportional to the size of the reflector. One of the most useful characteristics of ultrasonic testing is its ability to determine the exact position of a discontinuity in a weld. This testing method can be used on ferrous and nonferrous materials, is often suited for testing thicker sections accessible from one side only, and can often detect finer lines or plainer defects which may not be as readily detected by radiographic testing.
